OAuth Social Networks
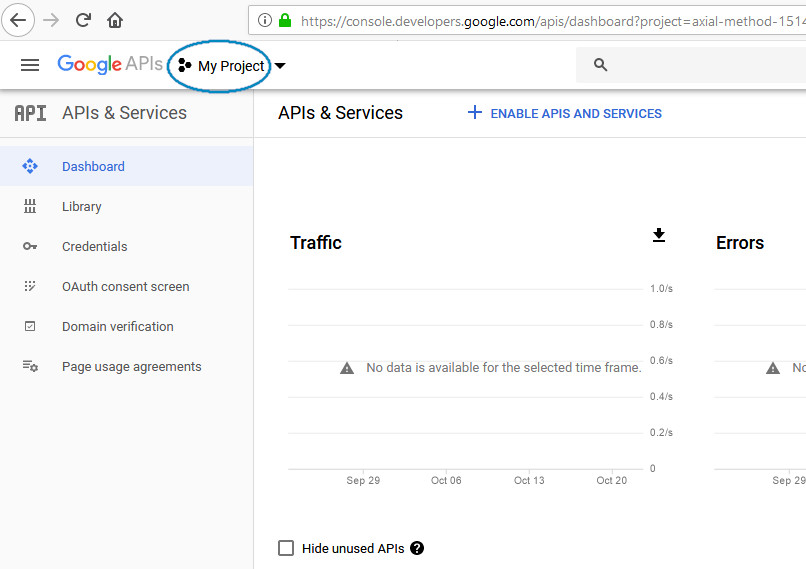
Go to https://console.developers.google.com and create a new project:
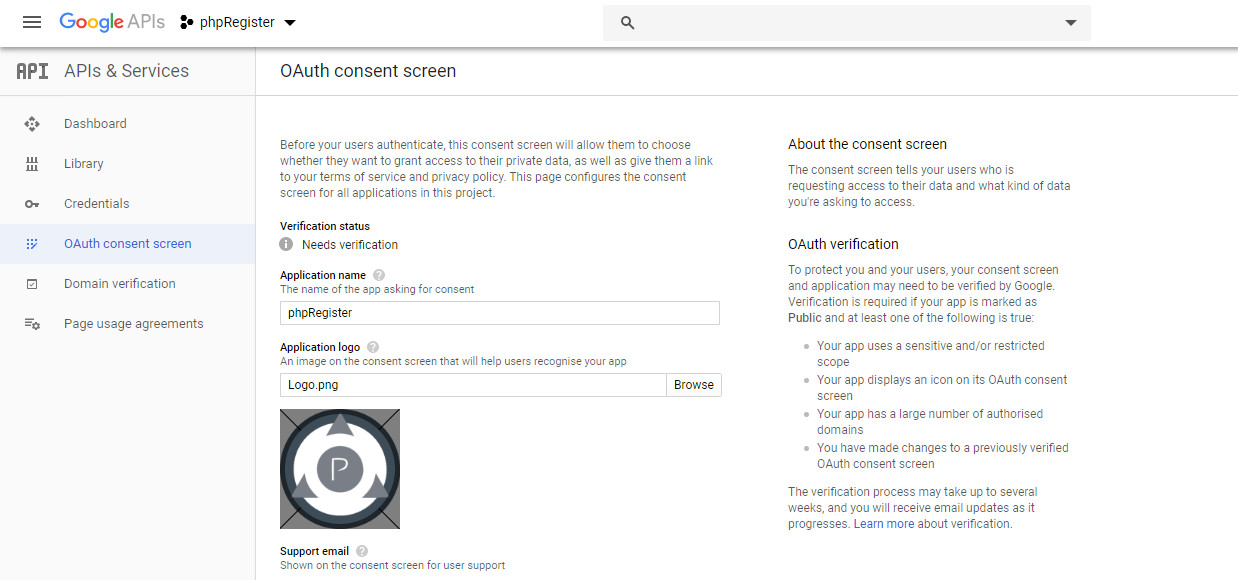
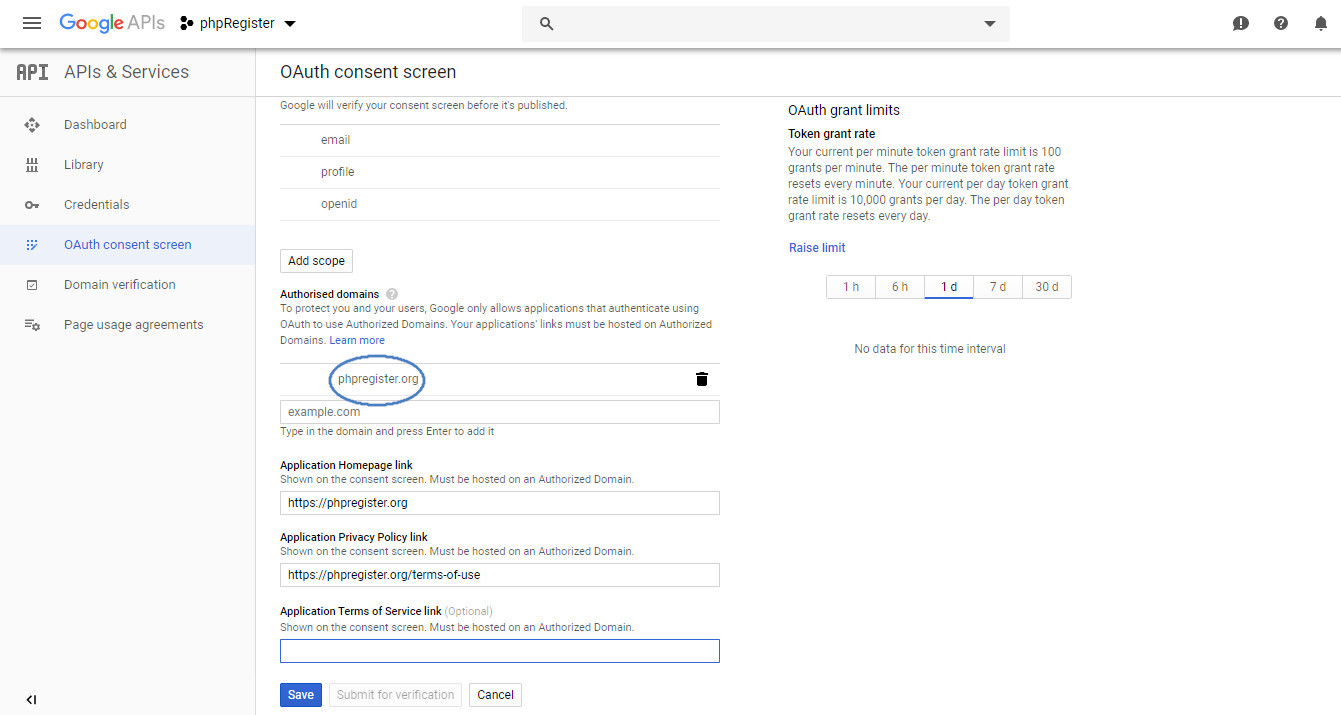
Set a name, a logo, and your authorized domains:
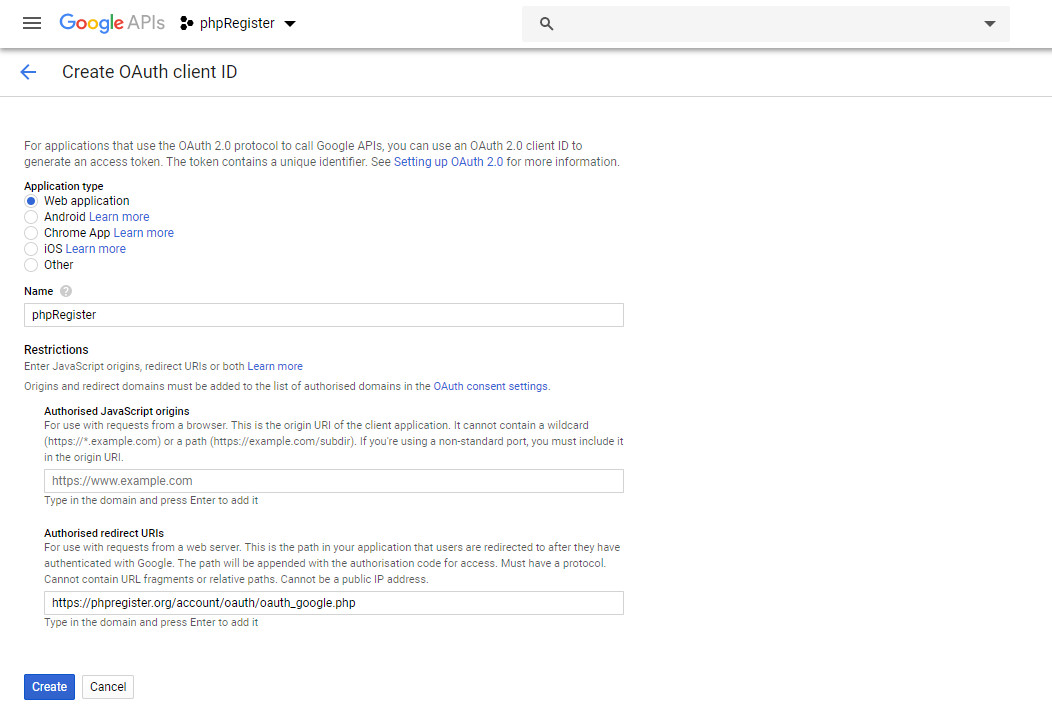
Create your OAuth client ID: choose Web application and specify your Authorised redirect URIs. You can specify URIs from your local server or online test server protected by a password:
Get your google client ID and your secret:

Edit the file /config/config.inc.php to fill these Google values
$config['GoogleRedirectURI'] does not have to be modified unless you want to change the folder containing the oauth files for security reasons.
If not already done, you should also add a property to your domain from here: https://www.google.com/webmasters/verification/home.
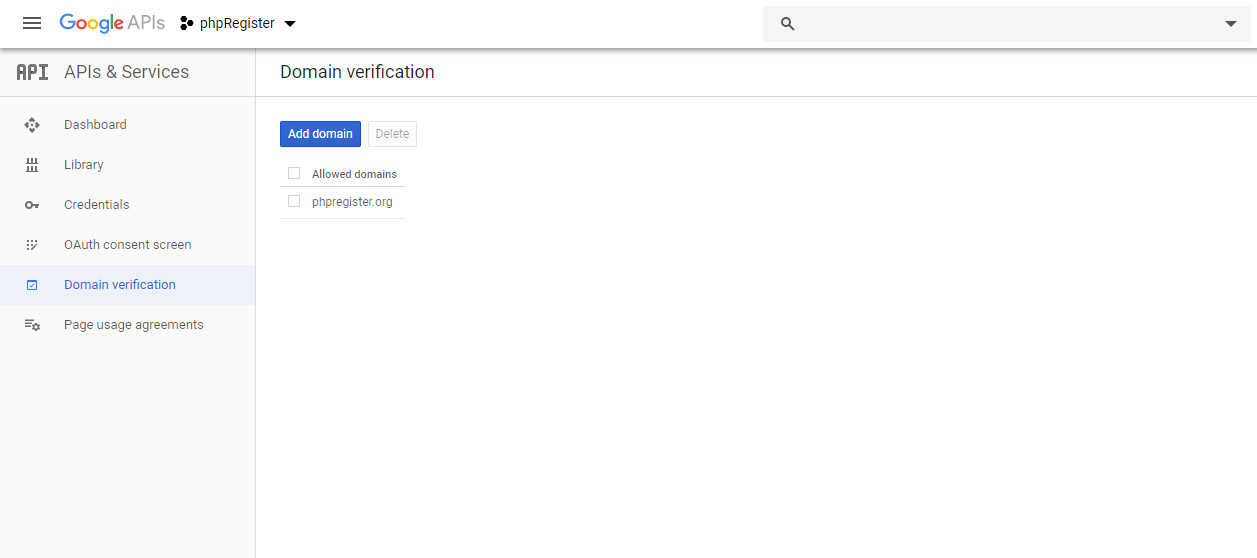
When you added a property to your domain, back to https://console.developers.google.com to add it in Domain verification:
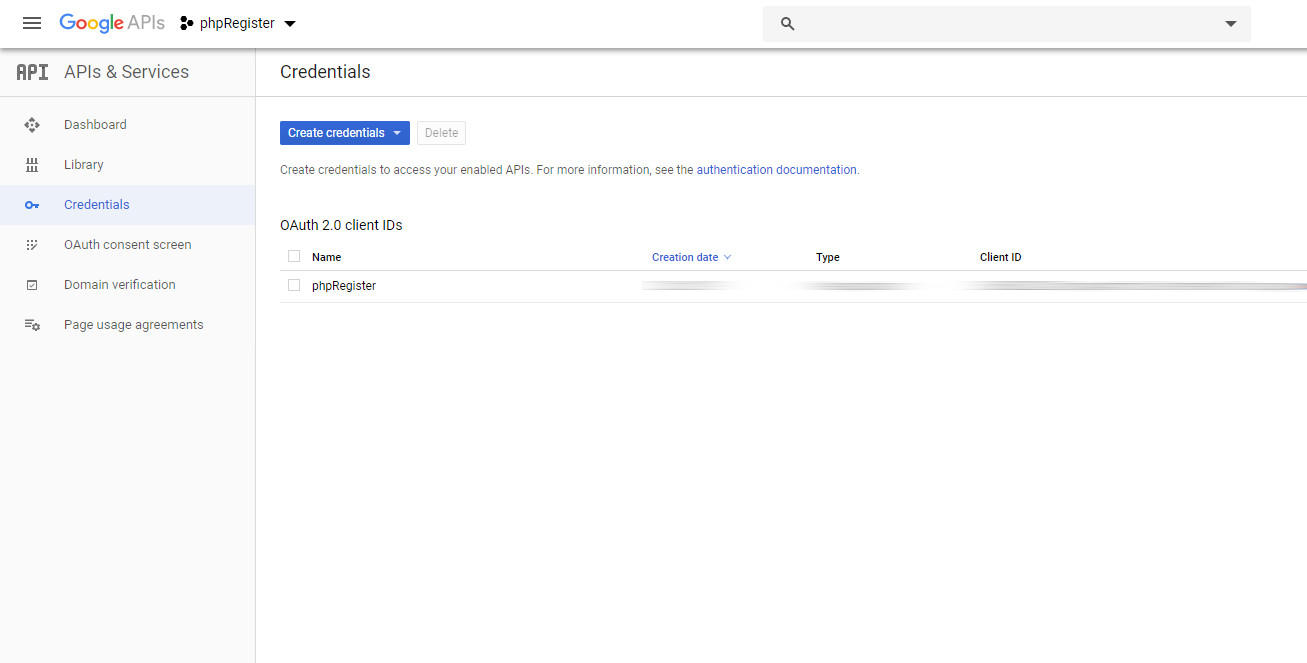
To update your Authorised redirect URIs, go to Credentials and click on the Credential you want to update:
Go to https://developers.facebook.com and create an App:

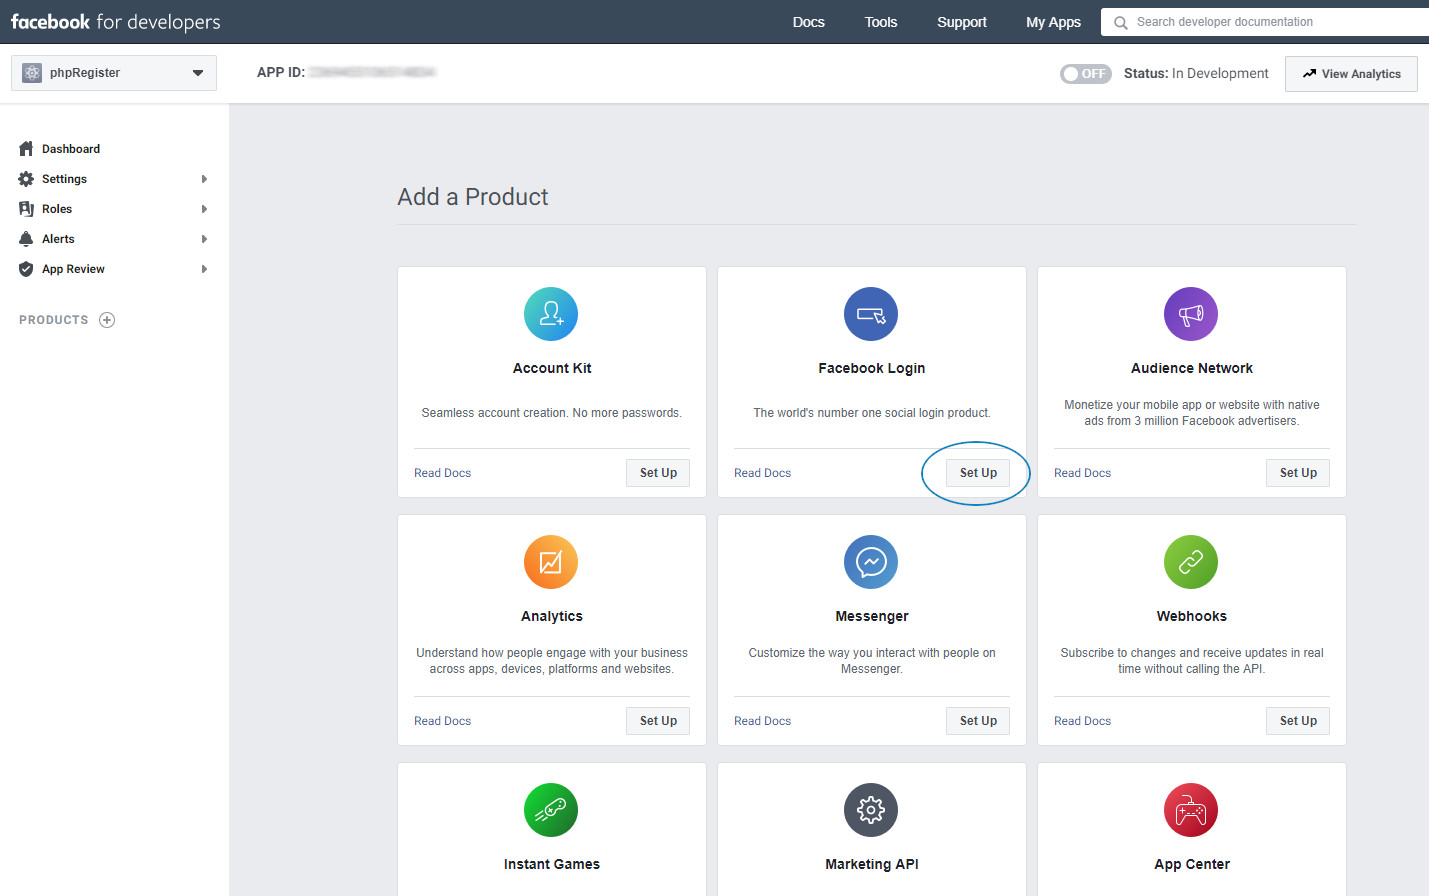
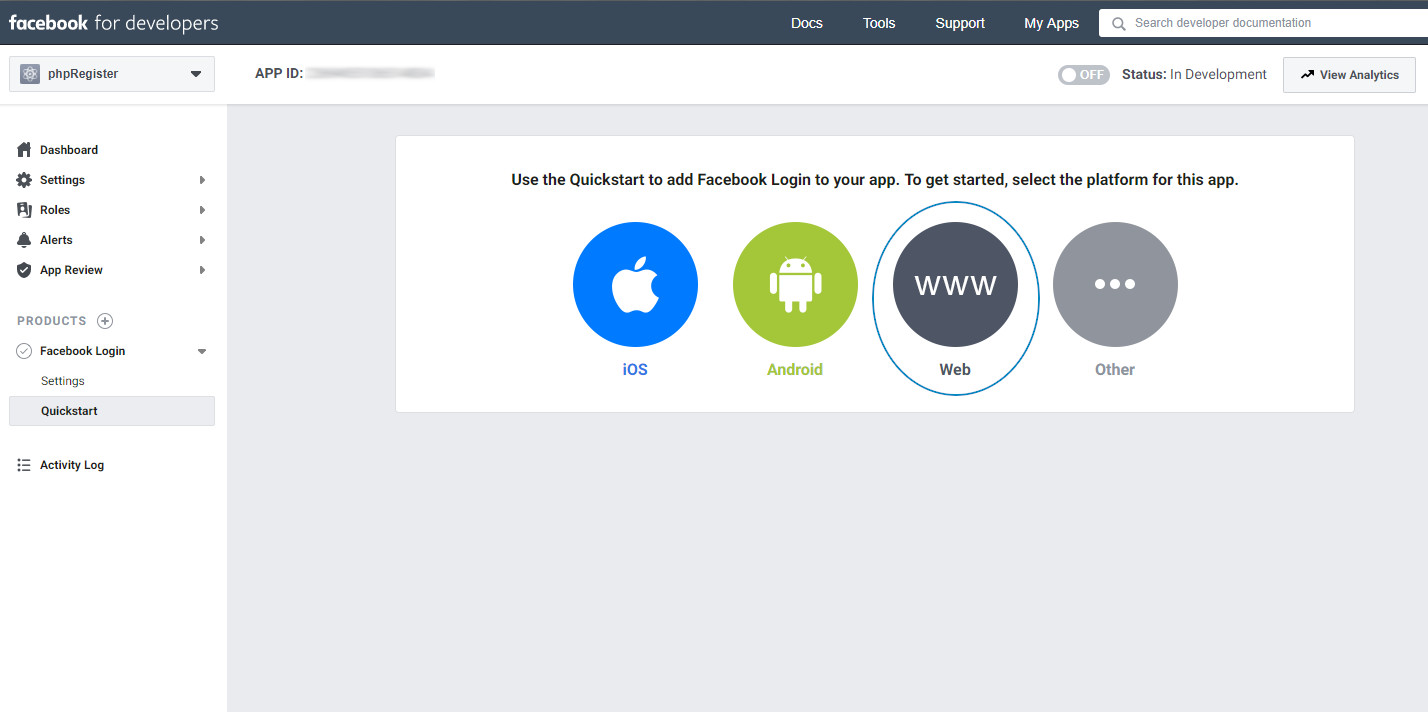
Select the product Facebook Login:
At Quickstart, select Web platform:
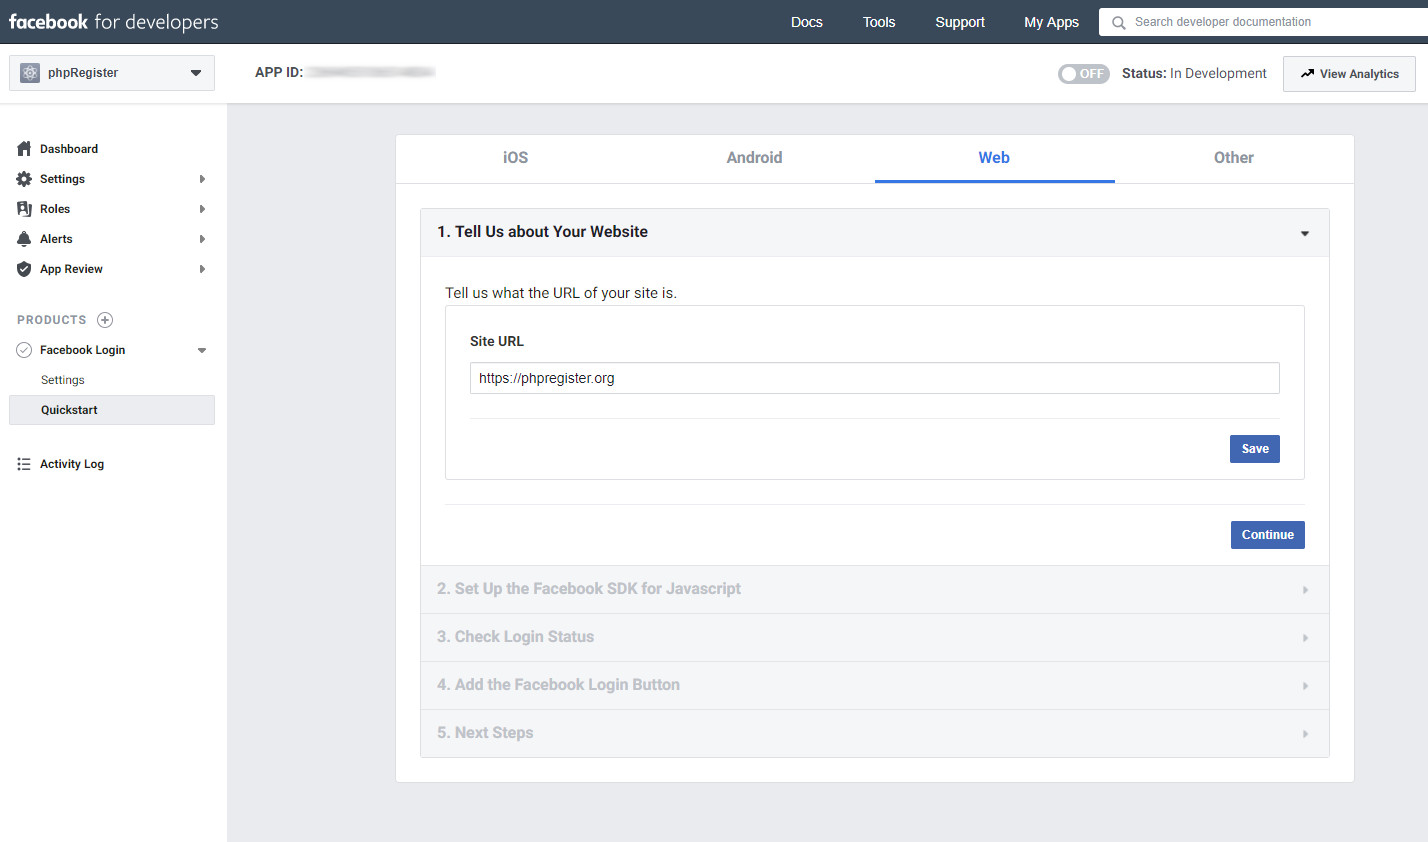
Quickstart: set your Site URL, then go directly to step 5 to exit the Quickstart:
Go to Settings / Basic to set your App domain and links to Privacy Policy and Terms of Service. These links are important, they will be checked by Facebook:
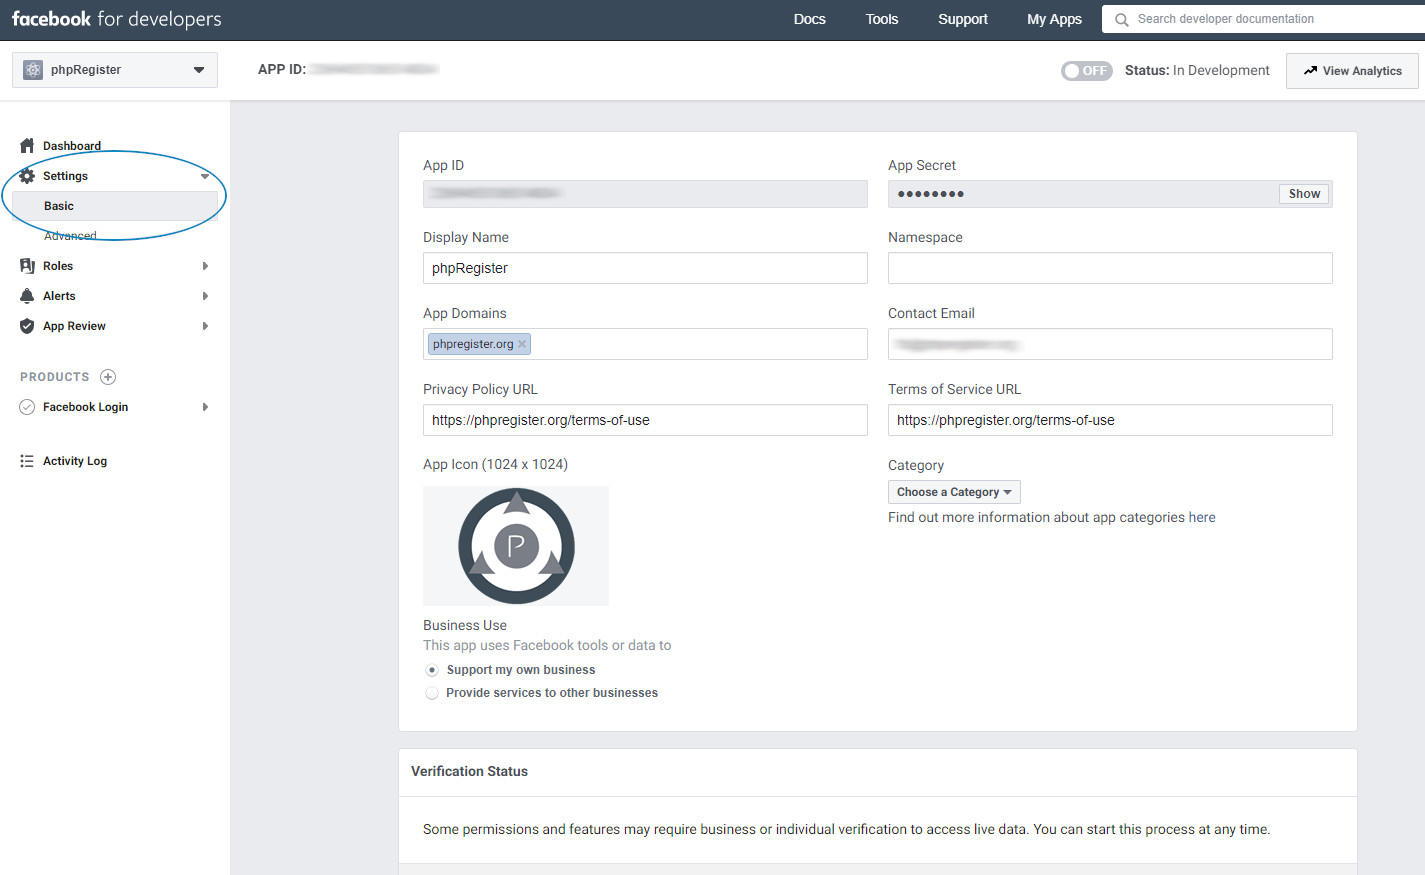
On this page you have you App ID and your App Secret, edit the file /config/config.inc.php to fill these Facebook values:
$config['FacebookRedirectURL'] and $config['FacebookRequiredScope'] do not have to be modified unless you want to change the folder containing the oauth files for security reasons or want to get more specific infos from Facebook users.
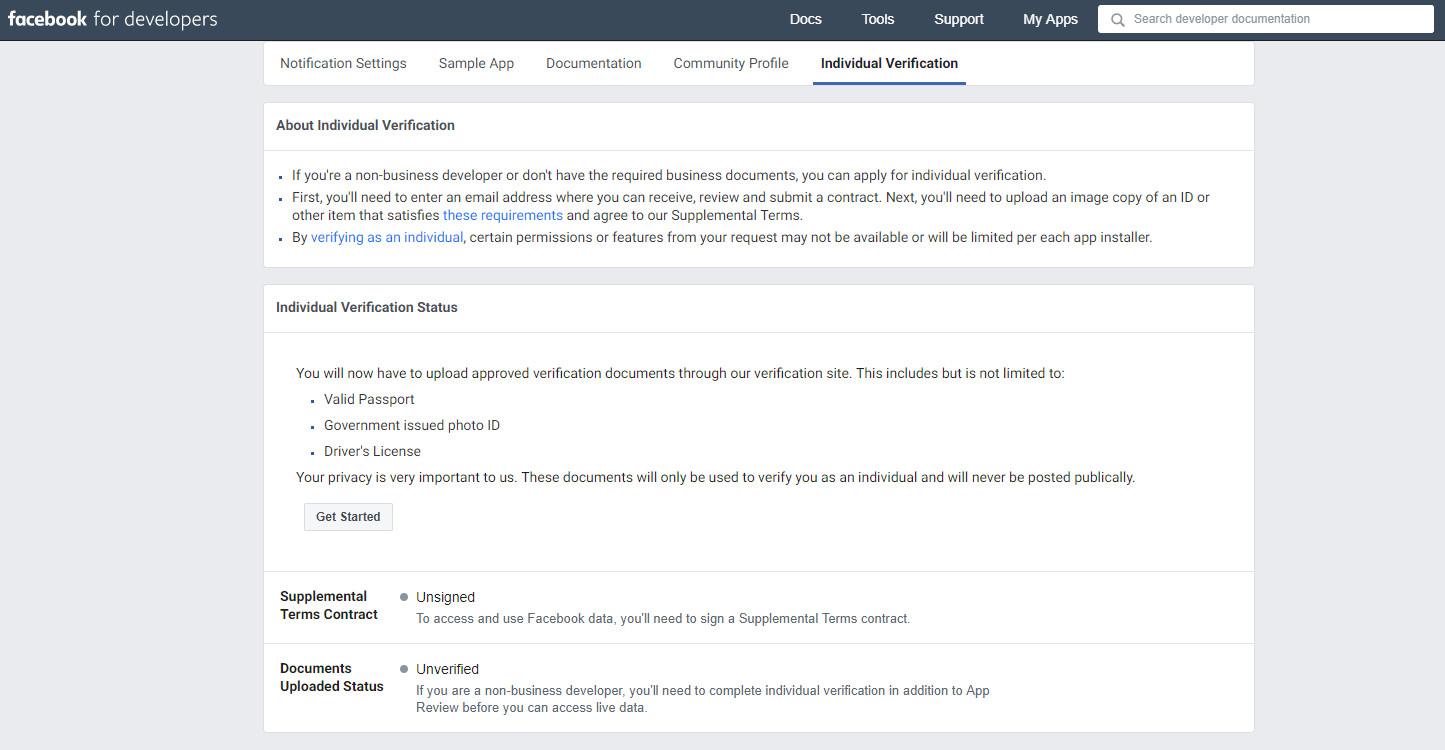
For each new Facebook app, you will have to verify your individual or business Status:
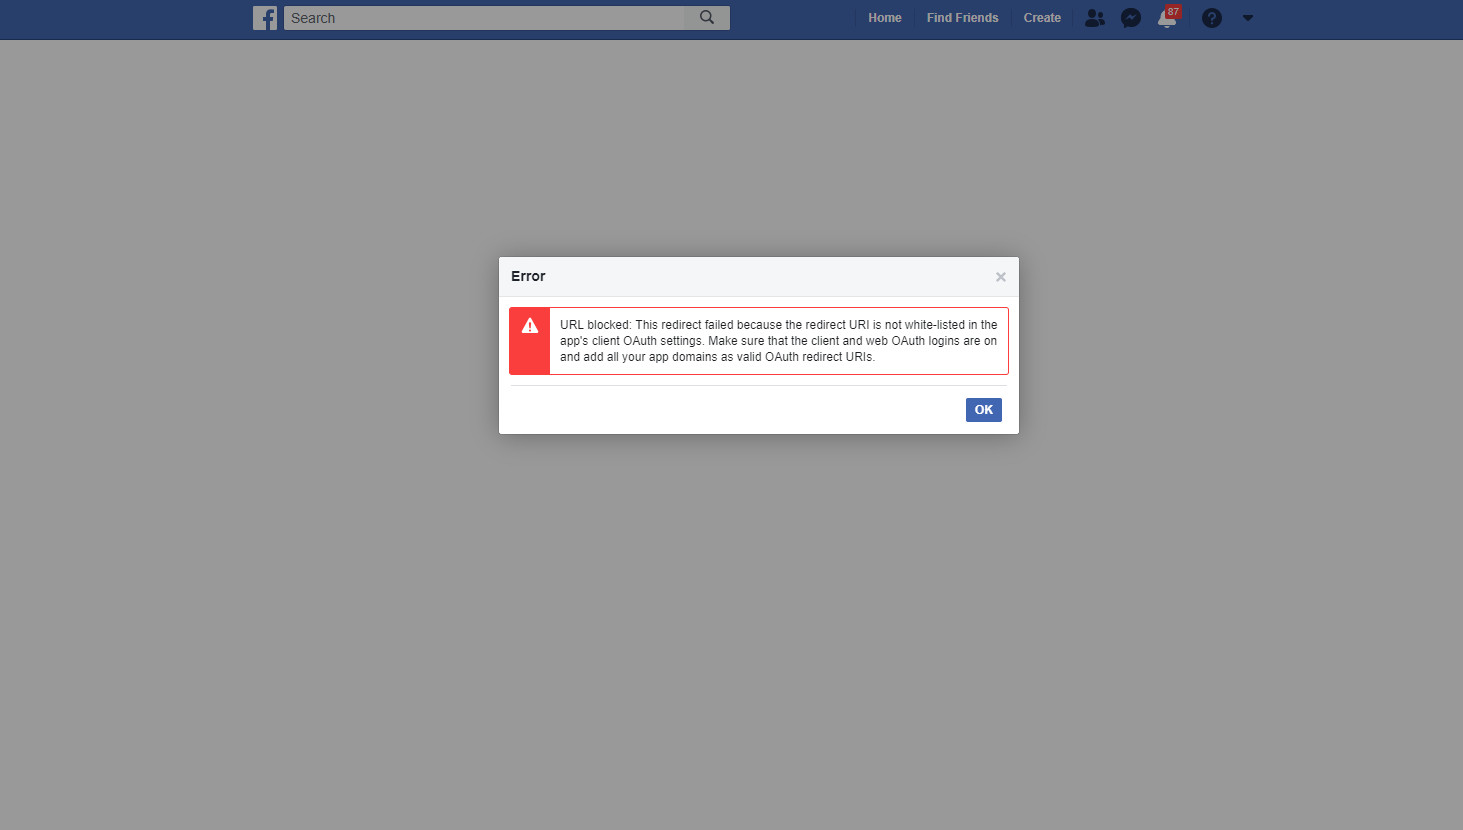
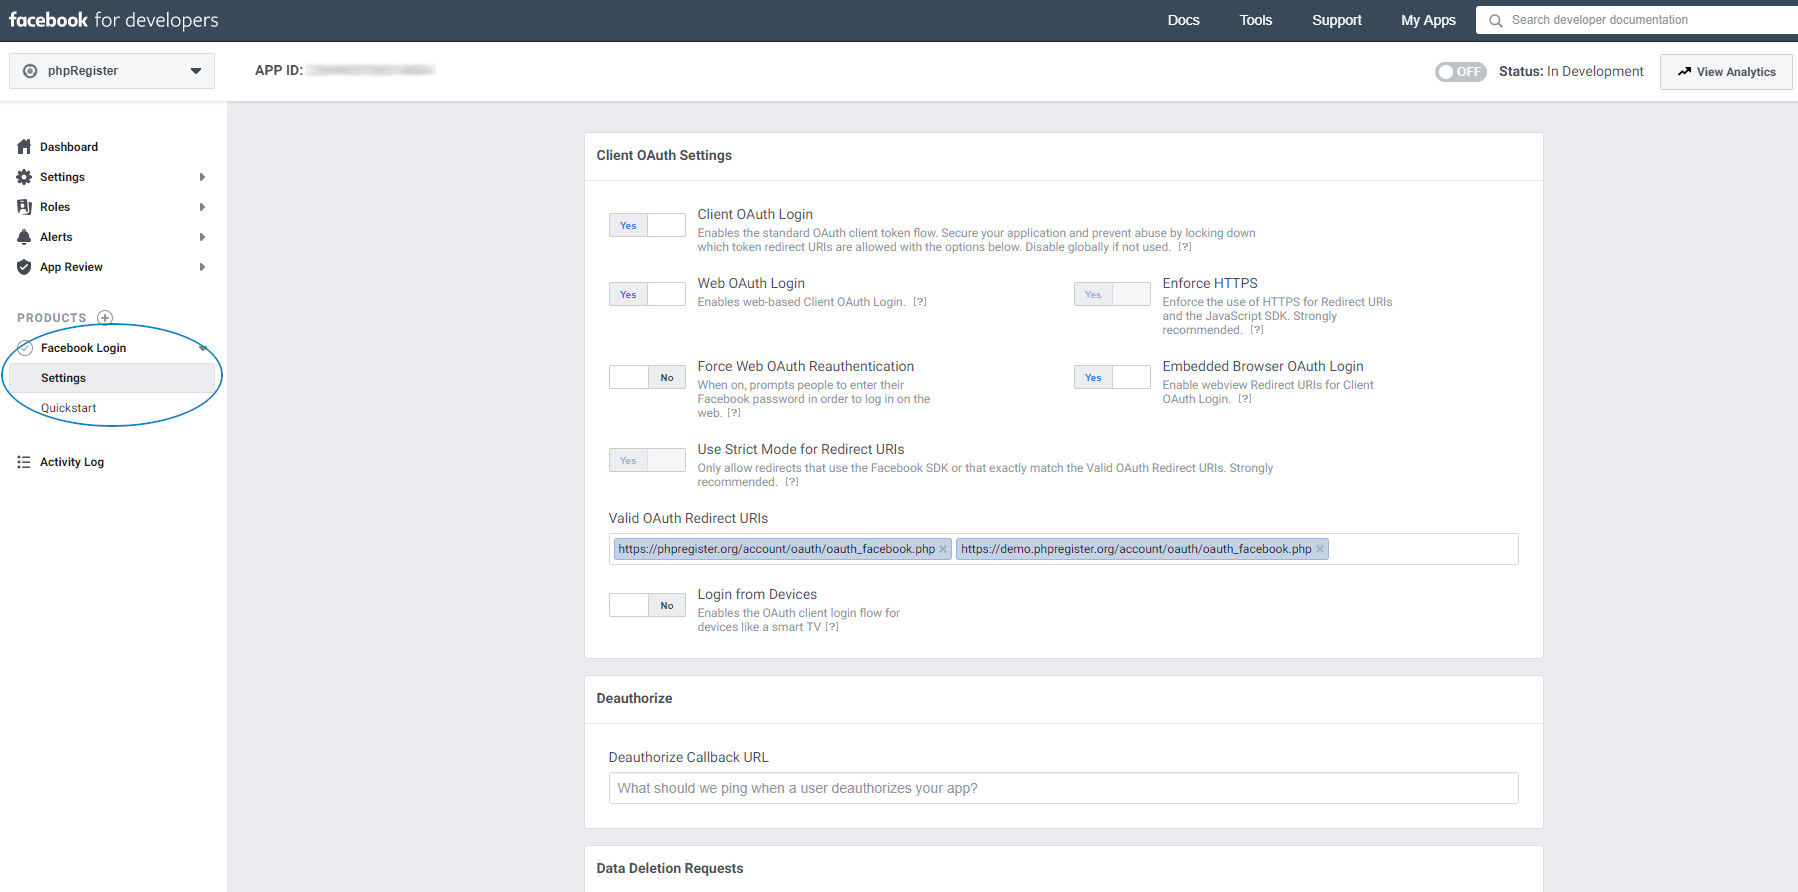
Go to Facebook Login / Settings and set your Valid OAuth Redirect URIs. All options should be set like on this screenshot:
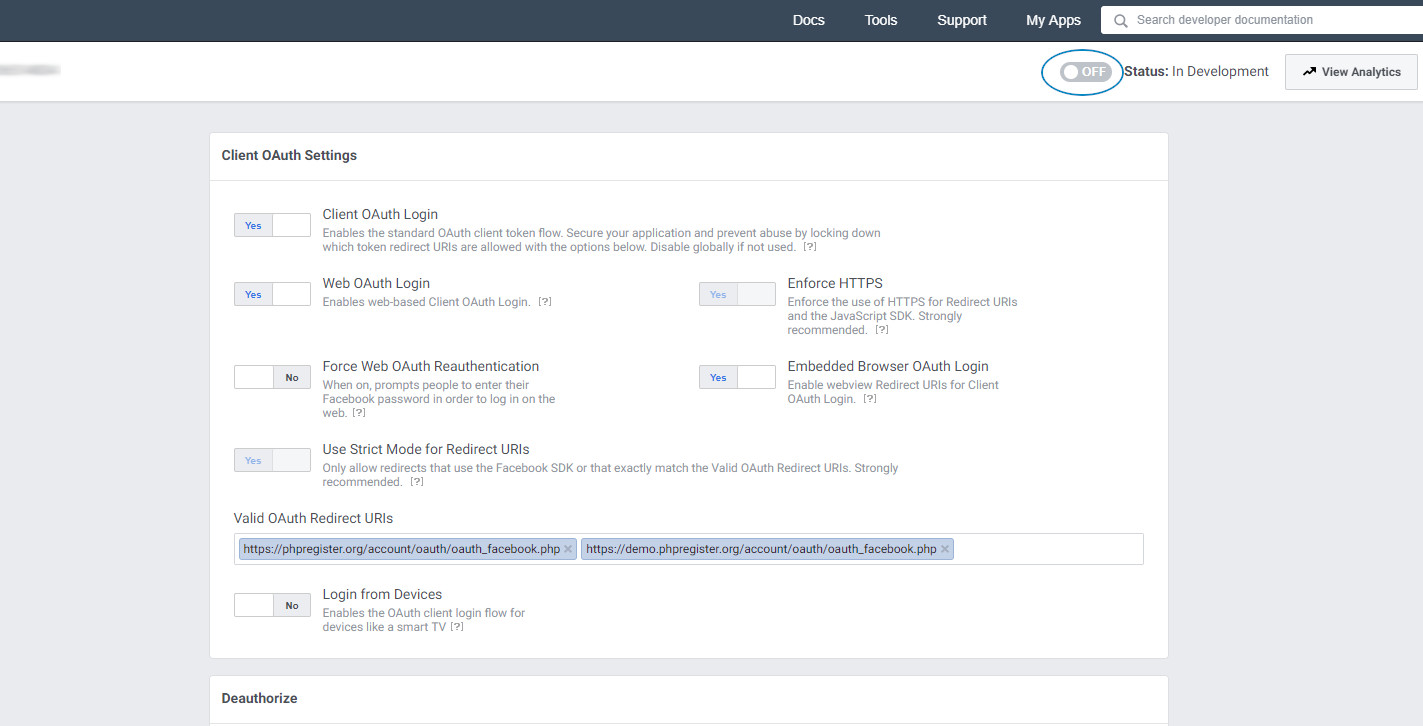
Switch to Live Mode on the top right:
If you get errors on URIs, check also your App ID and App secret, sometimes bad values on ID or secret returns errors about URIs.