Installation
On Windows/ XAMPP
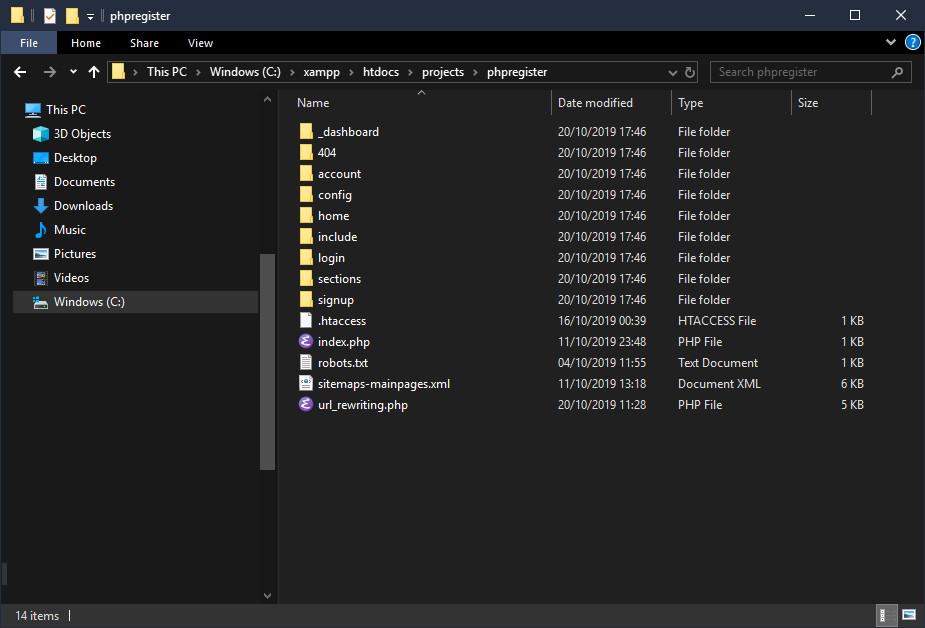
Let's assume that you have installed XAMPP on the default proposed folder C:\xampp\ and created the folder projects in htdocs. Then, create the new folder phpregister in projects and put in it the content of website folder from your zip package of phpRegister:
C:\xampp\htdocs\projects\phpregister
Now we have to create the virtual host localhost.phpregister. Creating a virtual host is absolutely mandatory, if not the local files (images, css, js) won't be loaded and links won't work. Don't access to the script with an URL like http://127.0.0.1/projects/phpregsiter/.
Edit the file C:\xampp\apache\conf\extra\httpd-vhosts.conf to add:
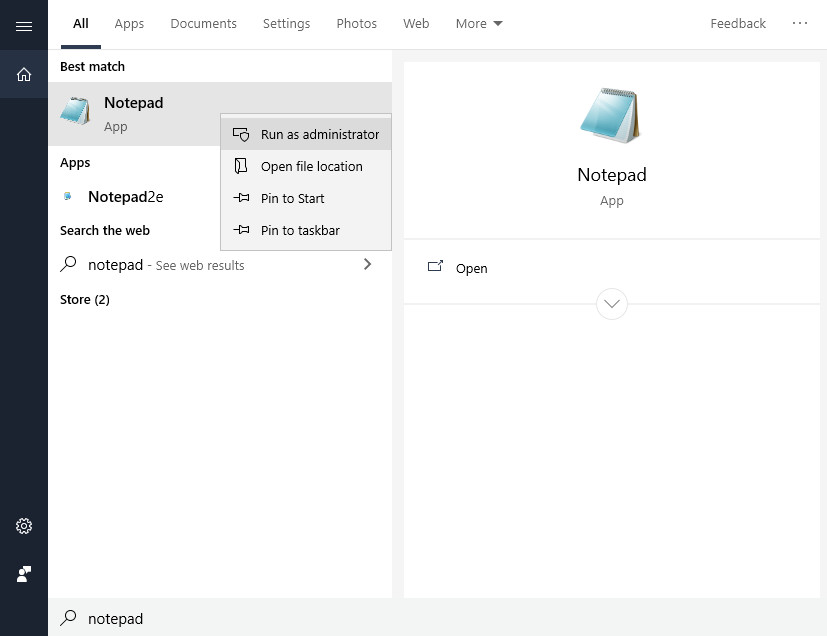
Start Notepad as an Administrator: Search for Notepad in Search bar, right click on it and select Run as administrator:
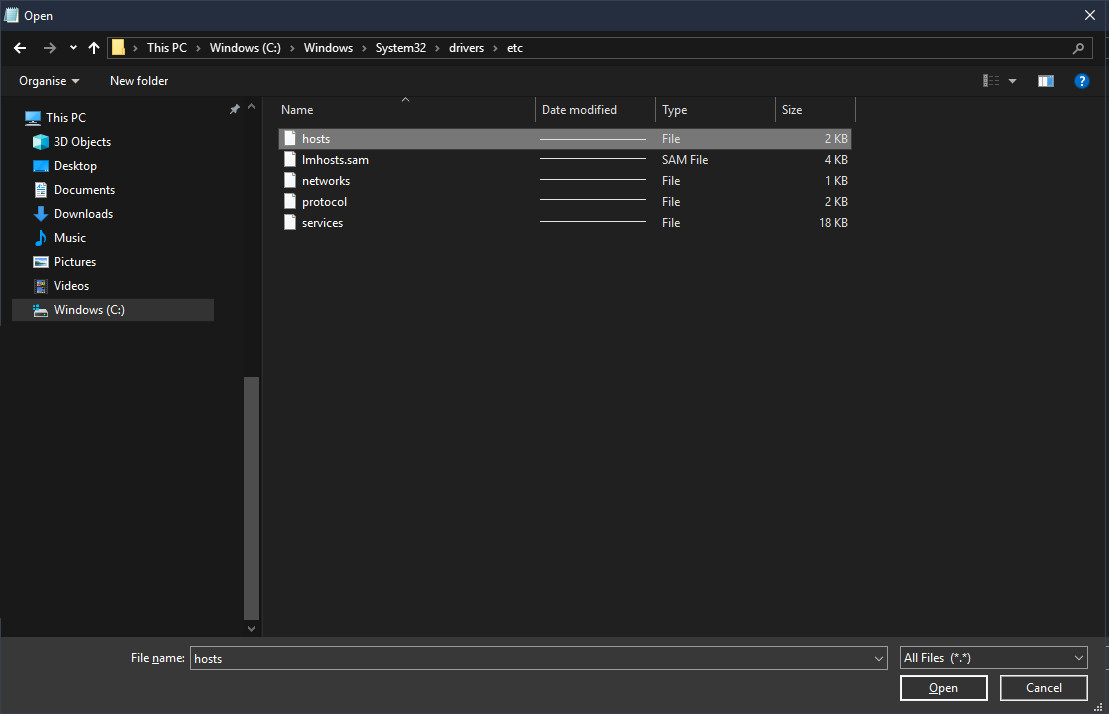
From Notepad, go to folder C:\Windows\System32\drivers\etc, to the right bottom select All files (*.*) instead of Text documents (*.txt) and select file host to open it:
Add the line:
Test that we can ping localhost.phpregister. Launch cmd from Windows search and launch the command ping localhost.phpregister which must reply:
Domain found, no packet lost, that's good!
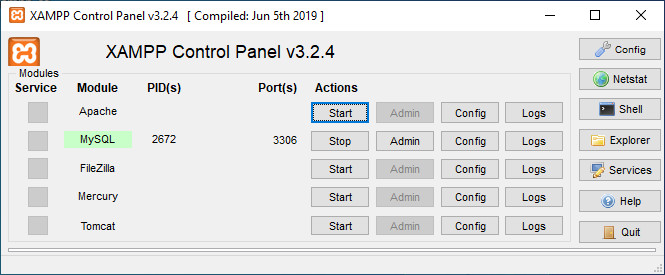
Now restart XAMPP by cliking on Apache - Stop then on Start
Now you can test the access to this virtual host with your prefered browser. Enter in the url http://localhost.phpregister and you should get:
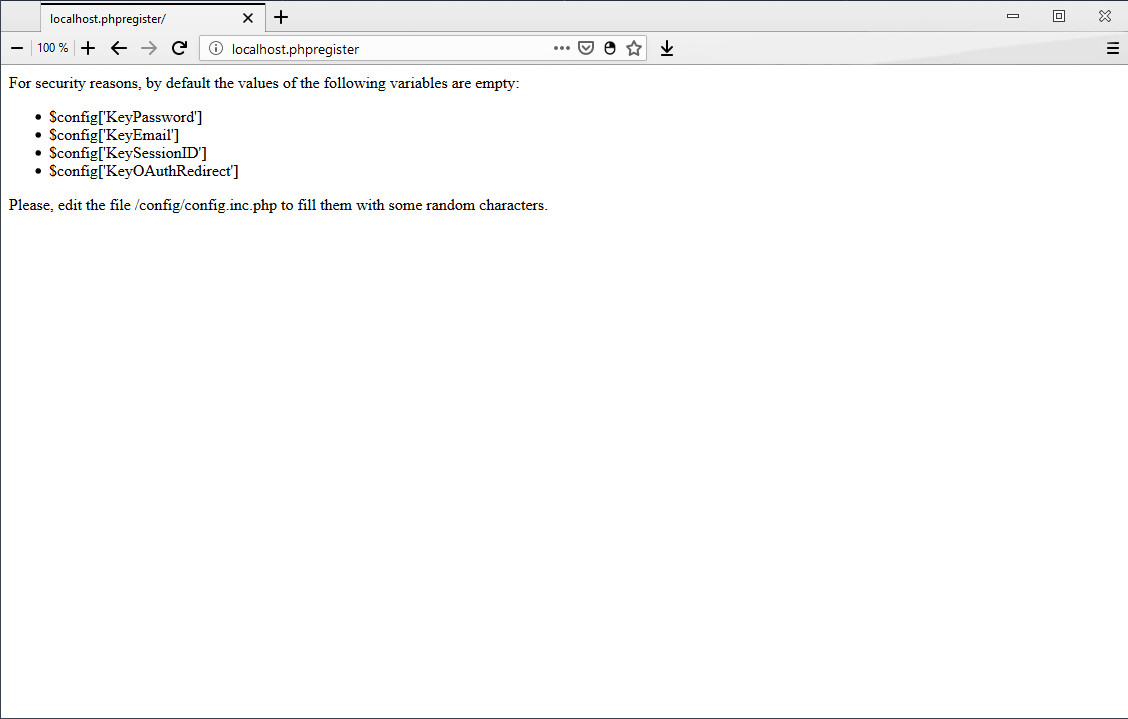
Before modifying the config file, you should first create the phpRegister database!
Please note that there is a button to generate some random keys in the Configuration section of this documentation.
Special details for Wamp
If you are running Wamp on Windows, please find above the differences I have found with XAMPP:- To create a new virtual host, edit the file C:\wamp64\bin\apache\apache2.4.41\conf\extra\httpd-vhosts.conf
- The DocumentRoot of the new virtual host is of course different from a XAMPP installation, for example:
- To restart the Apache server, you can use the following commands line in a terminal runned as administrator:
C:\Windows\system32>net stop wampapache64
C:\Windows\system32>net start wampapache64 - By default, with Wamp we get an Internal Server Error because of "Header Set Cache-Contol" from file .htaccess. "Header Set Cache-Contol" must be active, so you must uncomment this line on the the C:\wamp64\bin\apache\apache2.4.41\conf\httpd.conf, and the restart the Apache server:
On Linux with Nginx
Installation example on a fresh install of Ubuntu 18 LTS.
Step 1 - Install the Nginx server
Step 2 – Installing MySQL to Manage phpRegister Data
Warning: Enabling the feature "VALIDATE PASSWORD PLUGIN" is something of a judgment call. If enabled, passwords which don’t match the specified criteria will be rejected by MySQL with an error. This will cause issues if you use a weak password in conjunction with software which automatically configures MySQL user credentials, such as the Ubuntu packages for phpMyAdmin. It is safe to leave validation disabled, but you should always use strong, unique passwords for database credentials.
With that said, enter No at the following prompt:
For the rest of the questions, you should press Y and hit the ENTER key at each prompt. This will remove some anonymous users and the test database, disable remote root logins, and load these new rules so that MySQL immediately respects the changes we have made.
To use a password when connecting to MySQL as root, you will need to switch its authentication method from auth_socket to mysql_native_password. To do this, open up the MySQL prompt from your terminal:
Create the user and the database for phpRegister:
Step 3 – Installing PHP and Configuring Nginx for phpRegister
Note: Depending on your cloud provider, you may need to add Ubuntu’s universe repository, which includes free and open-source software maintained by the Ubuntu community, before installing the php-fpm package. You can do this by typing:
Install needed packages:
Create the Nginx virtual host localhost.phpregister. Use your prefered editor to create the file of the virtual host
Configuration of virtual host:
Create the link of your virtual host in the folder sites-enabled to activate it:
Edit your host file in order to add your new virtual host to access to it with your browser:
Add your new local virtual host:
Ping your virtual host to test its availability:
Test your Nginx configuration:
Reload the Nginx process:
Copy all the files of phpRegister website to the folder /var/www/phpregister and change owner:
Happy days! You should access to the url http://localhost.phpregister with your prefered browser and get:
Before modifying the config file, you should first import the phpRegister database!
Please note that there is a button to generate some random keys in the Configuration section of this documentation.
Import The Database
With phpMyAdmin
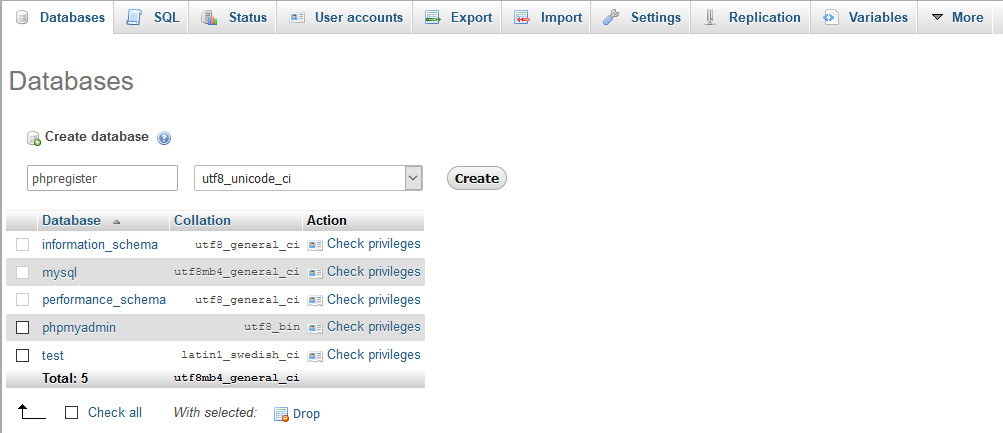
With a default XAMPP installation, you can access to your database with the url http://127.0.0.1/phpmyadmin. Create the database phpregister with collation utf8_unicode_ci:
Select the Import tab, go to Import tab and select the sql database file included in your phpRegister package.
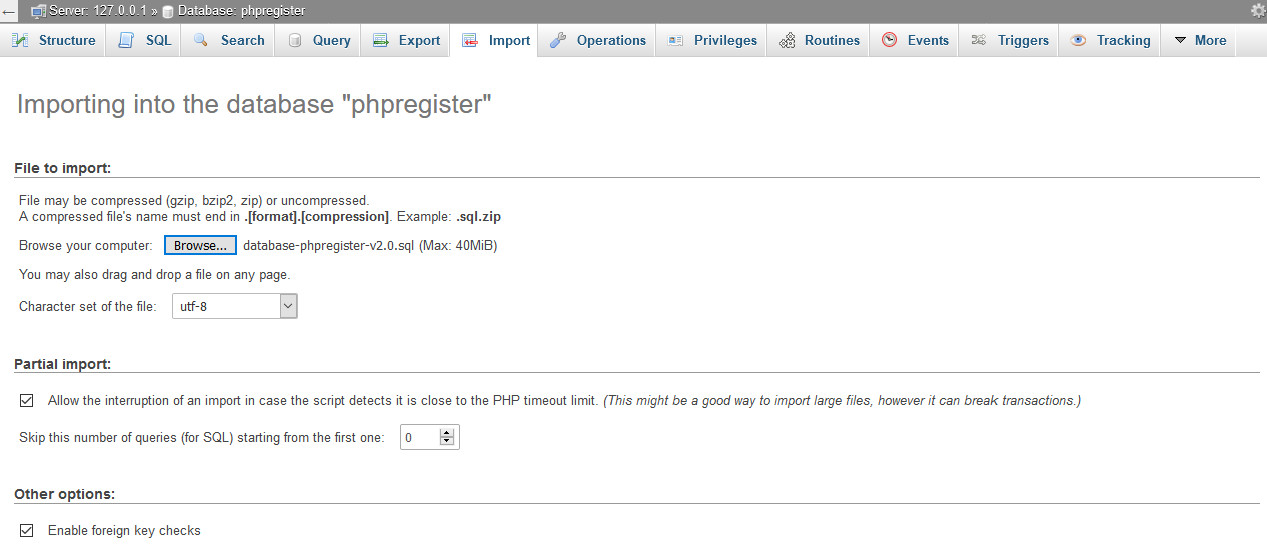
Click on Go at bottom of the page!
With command lines
Use your sql server command lines to create a new database and import the phpRegister database with command line, example: